
Here Are 14 Steps for How To Do Cupping Therapy Yourself at Home
As cupping therapy becomes one of the most popular alternative therapy, many people start to be interested in doing cupping themselves at home for massage cupping. It is true that do cupping at home is affordable and more convenient compare to visit a cupping practitioner. However, we strongly recommend you ask another person for helps if you really want to do cupping by yourself because you might hurt yourself. Now let us introduce you the 14 steps to do cupping at home.
1. Identify the area you want to treat 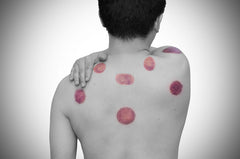

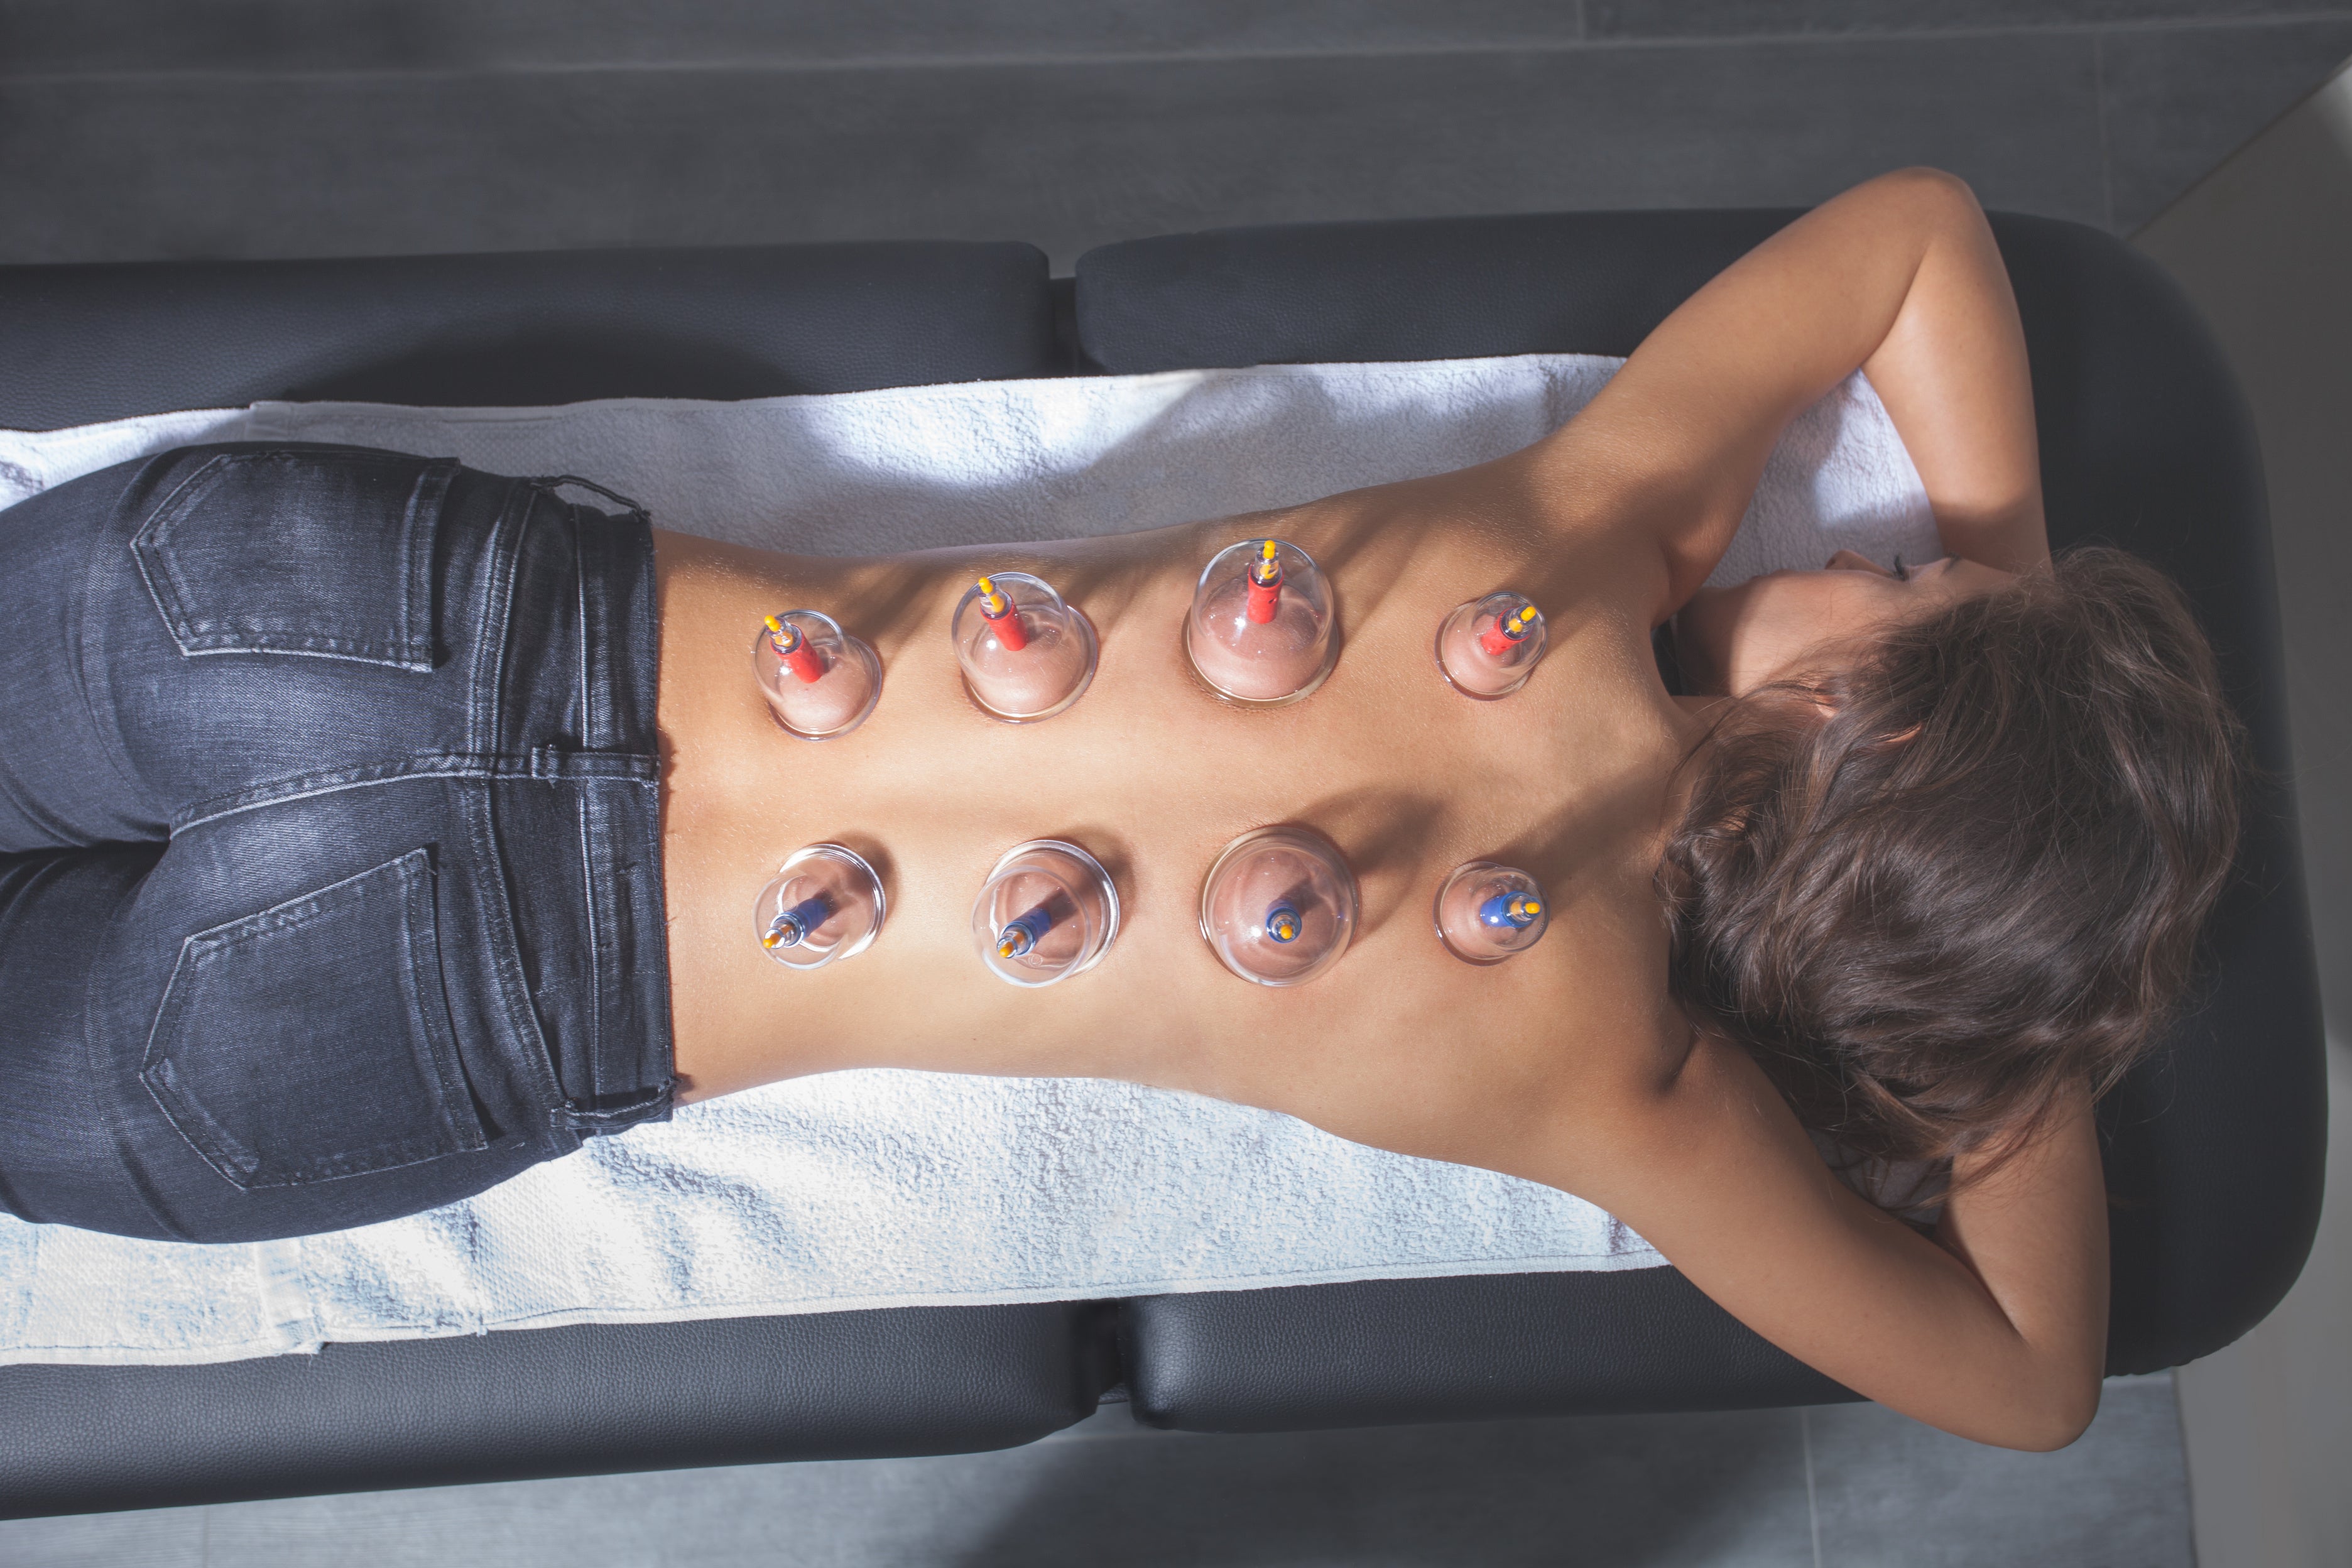
Where you place cups on the body has a lot of significance. Depending on where you wish to treat, there are specific regions cups should go. Back, stomach, arms, legs, and similarly fleshy areas are ideal for cupping.
2. Clean the skin
After you know where your cups are going, the next step is to clean the skin. Wash the site with soap and water, and then dry with a clean towel.
3. Apply oil to the skin
A small amount of cream or oil rubbed into the skin as thoroughly as possible can help reduce irritation and make it easier to move or reposition the cups as needed during treatment.
4. Prepare your cups
You want to ensure your cups are sterilized and clean. Whether you use silicone cupping sets, plastic cupping sets, or glass cupping sets, they all should be cleaned.
5. Soak a cotton ball in rubbing alcohol
Grab a cotton ball with medical tweezers and dip it in rubbing alcohol to soak it. This step is predominantly for those using glass cupping sets. As you’ll find, this helps to create suction.
6. Light the cotton on fire
Be careful with this step. Hold it steady with tweezers. Keep all flammable materials away and ensure the bottle of rubbing alcohol has been closed. Keep the flame controlled throughout this process.
7. Place the flaming cotton into the cup
Keep your hot cotton in the cup for up to five seconds until the glass feels warm. Don’t let it become too hot. Ideally, you want it warm to the touch yet still cool enough to handle with bare hands.
8. Apply the cup to the skin
Do this quickly. As soon as you remove the burning cotton, invert the glass and place it on the treatment area. As it cools, the space inside the cup transforms into a vacuum. Suctioning will stimulate the pores and increase blood flow.
9. Repeat as needed
Work with one glass at a time and repeat until all glasses have been placed on the body. For areas with bony joints, smaller cups are recommended as opposed to broader areas which can handle larger glasses.
10. Put out the fire
Any lit cotton should be dropped into a fire-resistant container and covered with a lid. This will smother and extinguish the flame.
11. Leave the cups in place
For five to ten minutes, keep the cups on the skin. The skin underneath should turn from red to purple. Then, remove the cups by lifting them off with the hands. Do not keep the cups on for longer than fifteen minutes.
12. Expect bruising
After your cupping therapy treatment is done, you can expect some minor bruising and marks. Cupping marks should be relatively painless and will begin to disappear within a few days to a week.
13. Treat blisters
If cupping blisters have formed – it’s rare but it happens – treat these by pricking, draining, and disinfecting them.
14. Use sparingly
Too much cupping is bad for your health so be sure to stick to the time limits and to not repeat cupping for longer than 10 consecutive days.
In short, the 14 steps are identify the area you want to treat, clean the skin, apply oil to the skin, prepare your cups, soak a cotton ball in rubbing alcohol, light the cotton on fire, place the flaming cotton into the cup, apply the cup to the skin, repeat as needed, put out the fire, leave the cups in place, expect bruising, treat blisters, and use cupping sparingly. Please remember these 14 steps are for body cupping only. If you would like to do facial cupping, please use face cup for facial cupping and follow instructions.
If you want to try cupping therapy at home but you do not find the tools yet, do not hesitate to visit Lierre.ca for more professional cupping sets that you can use! We offer a wide range of high-quality cupping sets as well as other massage accessories.